How to Do Heatless Curls That Actually Hold
Written and reviewed by the Soielle team. Last updated August 2026.
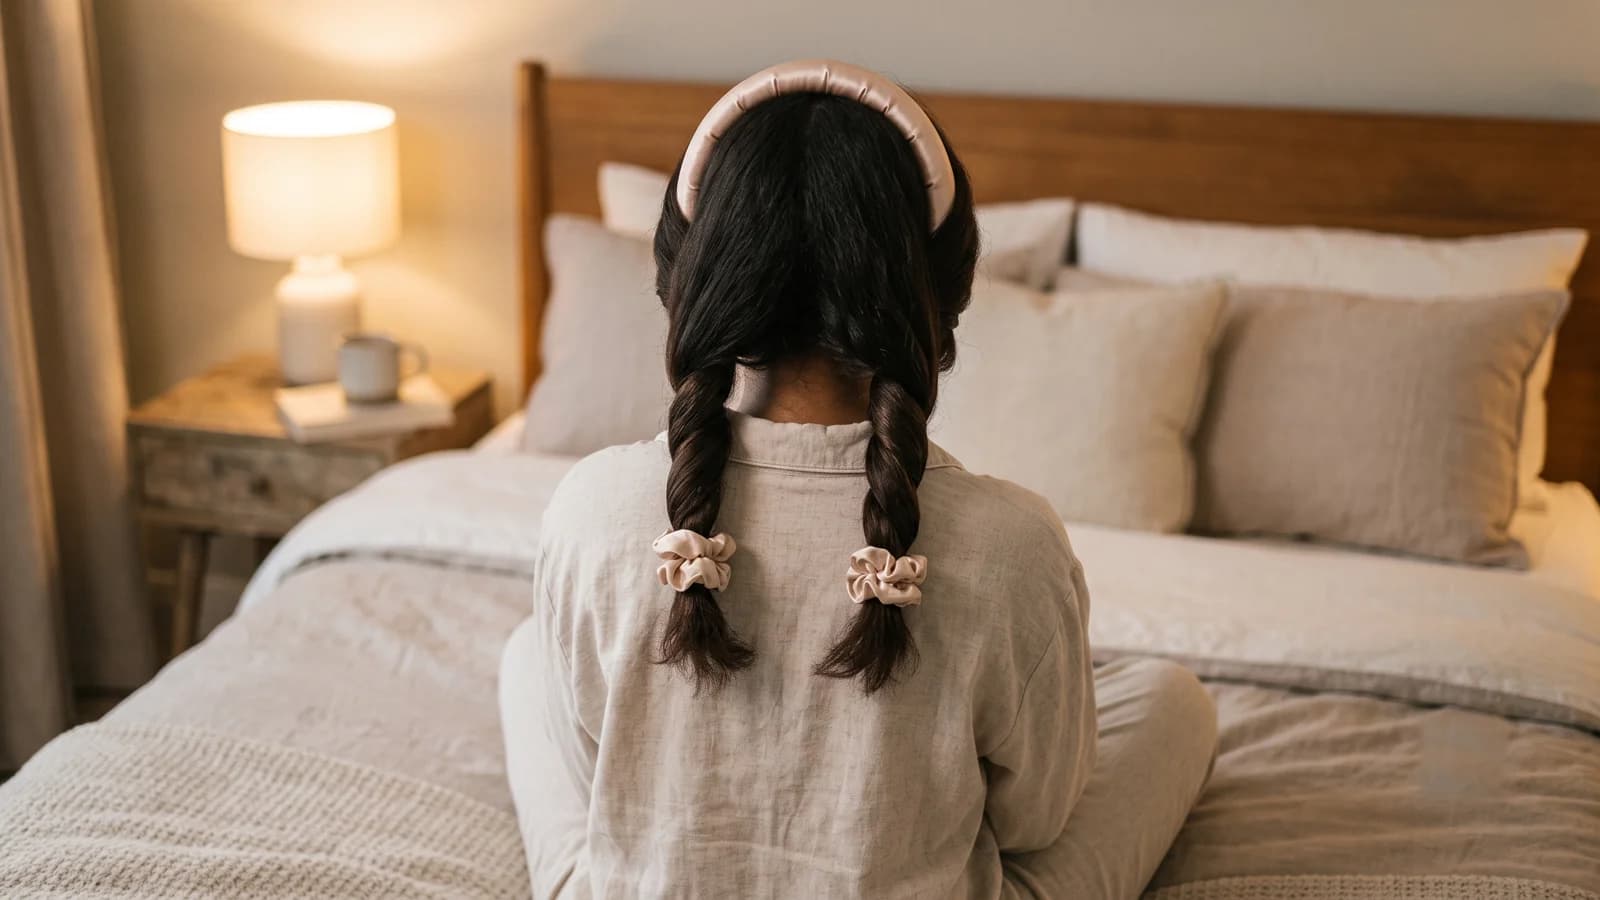
Learning how to do heatless curls comes down to one variable almost nobody states plainly: how damp your hair is when you wind it. Get that right and a padded rod, a silk ribbon or a rolled-up sock will all set a curl overnight. Get it wrong and the most expensive kit in the world hands you back flat hair by lunchtime.
Below is the whole method, including the free sock version and what to do when the curls refuse to hold. We wrote it off the back of the July 2026 read we did of the UK market for our own satin curling kit, so the prices in it are British and current rather than borrowed from American tutorials.
One honest note before the steps. Heatless styling adds no fresh heat damage, which is the whole point, but it does not repair damage that straighteners already did. Nothing does that except growing hair out and cutting the old lengths off.
How heatless curls work
Damp hair dries into whatever shape it is held in. That is the entire mechanism. Wind slightly damp hair around a long rod before bed, and as the water leaves overnight the hair sets around the curve it was wrapped in. Nothing warms up at any point, which is why the method appeals to anyone growing out years of straightener use.
Everything else follows from that one process. The dampness decides whether you get a set at all. The winding decides its shape. What you do in the morning decides whether it survives past breakfast.
What you need
The kit list is short, and one item can be improvised for free.
- A curling rod, sold variously as heatless curlers, curling ribbons or rods: a long padded rod you can sleep on. Surface matters more than brand. Satin or silk releases hair as it dries; cotton and foam grip the cuticle and rough it up as you turn over in the night.
- Two soft scrunchies to secure the ends. Satin ones, ideally. A bare elastic presses a dent into the driest part of your hair over eight hours.
- A claw clip for sectioning, or any clip you own.
- A water mist bottle for topping up dryness as you work. A plant mister is fine.
Step by step: heatless curls overnight
This is the standard single-rod method. It takes about five minutes once you have done it twice.
- Start with the moisture right: towel your hair after washing, then wait about fifteen minutes. You want damp, not dripping and not fully dry.
- Drape the rod across the crown of your head so both ends hang level, roughly where a headband would sit. Clip it in place if it slides.
- Split your hair into two even halves, one for each side of the rod.
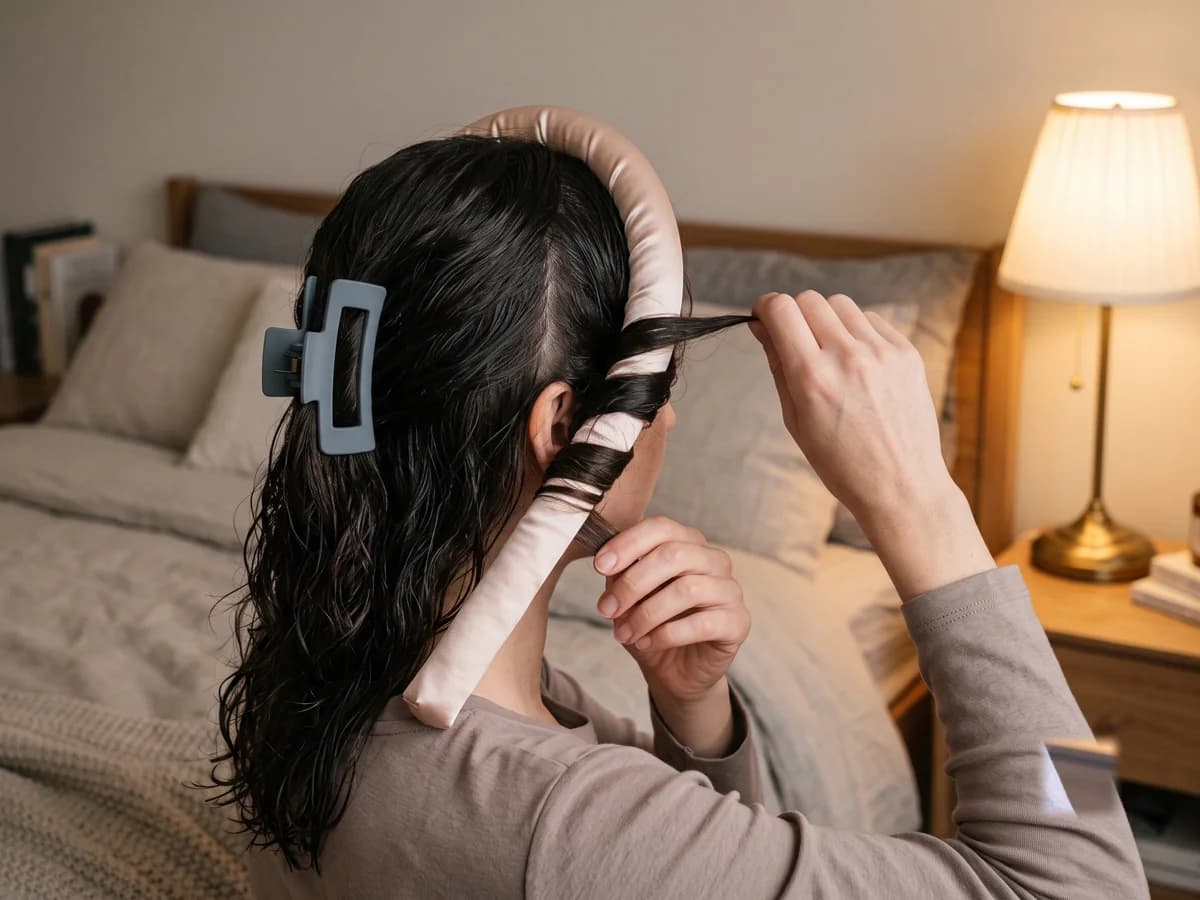
- Starting at the front of one side, lift a small section and wind it around the rod, away from your face. Draw in a little more hair with each turn as you work back towards the nape.
- Wind all the way to the tips. Ends left poking out dry straight, so they must travel around the rod too.
- Secure the ends with a scrunchie, then repeat on the other side.
- Sleep on it. In the morning, unwind gently, break the curls apart with your fingers, and give them a minute to settle before judging the result.
Wet or dry hair?
Neither, and this is where most first attempts go wrong. Properly wet hair cannot finish drying inside a wrap, so you unwind damp hair that flops within the hour. Fully dry hair has no reason to take a new shape and lets it go by mid-morning.
The target sits in between: towelled and rested for about fifteen minutes, or blow-dried until nearly dry and then given a short rest. Most tutorials that put a number on it land in the same zone, roughly eighty to ninety percent dry. Starting from dry hair in the daytime? Mist each section until it feels cool to the touch, then wind.
How long do heatless curls take?
Overnight is the honest answer, and it is the version the method was built for. The hair needs enough time to finish drying while held in shape, and a full night gives it that with margin to spare.
Two hours is usually not enough from damp. You will get a soft bend, not a curl, because the hair inside the wrap is still holding water when you unwind it. A daytime set can work in three to four hours if you started barely damp, and misting dry hair lightly shortens the wait further at the cost of a looser result.
The sock method: the free version
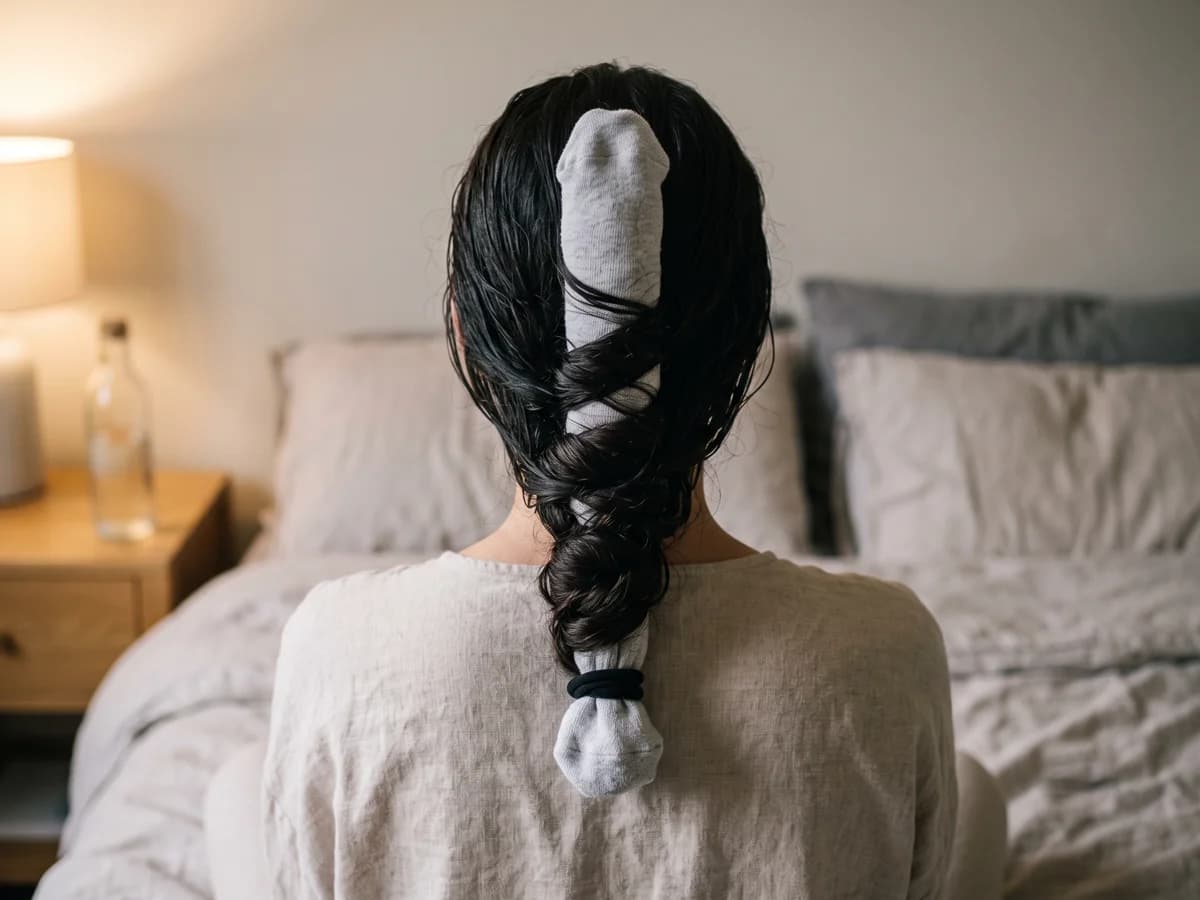
A rolled sock is the no-cost version of identical physics: roll it into a tube, wind damp hair around it, secure the ends and go to bed. It genuinely works, and if it is working for you, keep your money.
A purpose-built rod earns its price in three places. Length, because a sock runs out around your mid-lengths while a rod reaches your tips. Surface, because satin releases hair in the morning where cotton grips and drags the curl out. And staying power, because a rod is still on your head at 6am and a sock frequently is not.
On price, from our July 2026 read of the UK results: foam and fabric heatless curlers run from about 32p to £4 at the floor, branded fabric and satin sets sit between roughly £8 and £17, and genuine silk rods ask £39 to £45. Most people are well served in the middle band; the floor works but feels like it, and silk is a material upgrade rather than a better curl.
Why your heatless curls will not hold
Nearly every flat result traces back to one of four causes.
- Too wet. The hair never finished drying inside the wrap, so the set never formed. Wind at damp, not wet, and give it the full night.
- Too dry. There was no water to leave, so there was nothing to set. Mist each section before winding.
- Sections too thick. A fat section dries on the outside and stays damp at the core, and the result is a bend rather than a curl. Halve your section size.
- Resistant hair. Fine, poker-straight or freshly deep-conditioned hair holds shape badly. Go smaller on sections, skip heavy conditioner on the lengths that night, and finish with a light mist of hairspray once separated.
Making the curls last
The set is only half the job; the other half is not undoing it. Separate the curls with your fingers, never a brush. Dragging a brush through pulls the shape out and lifts the cuticle, which is where frizz comes from. If the style needs to survive into the evening, one light pass of flexible hairspray after separating does more than any other single step.
What you sleep on the following nights matters too. A smooth pillowcase lets second-day curls slide rather than rub, which is the same friction logic as the rod surface itself. The Sleep Foundation notes that low-friction weaves help prevent frizzing, tangling and matting overnight, which is precisely what second-day curls need less of.
How long do heatless curls last?
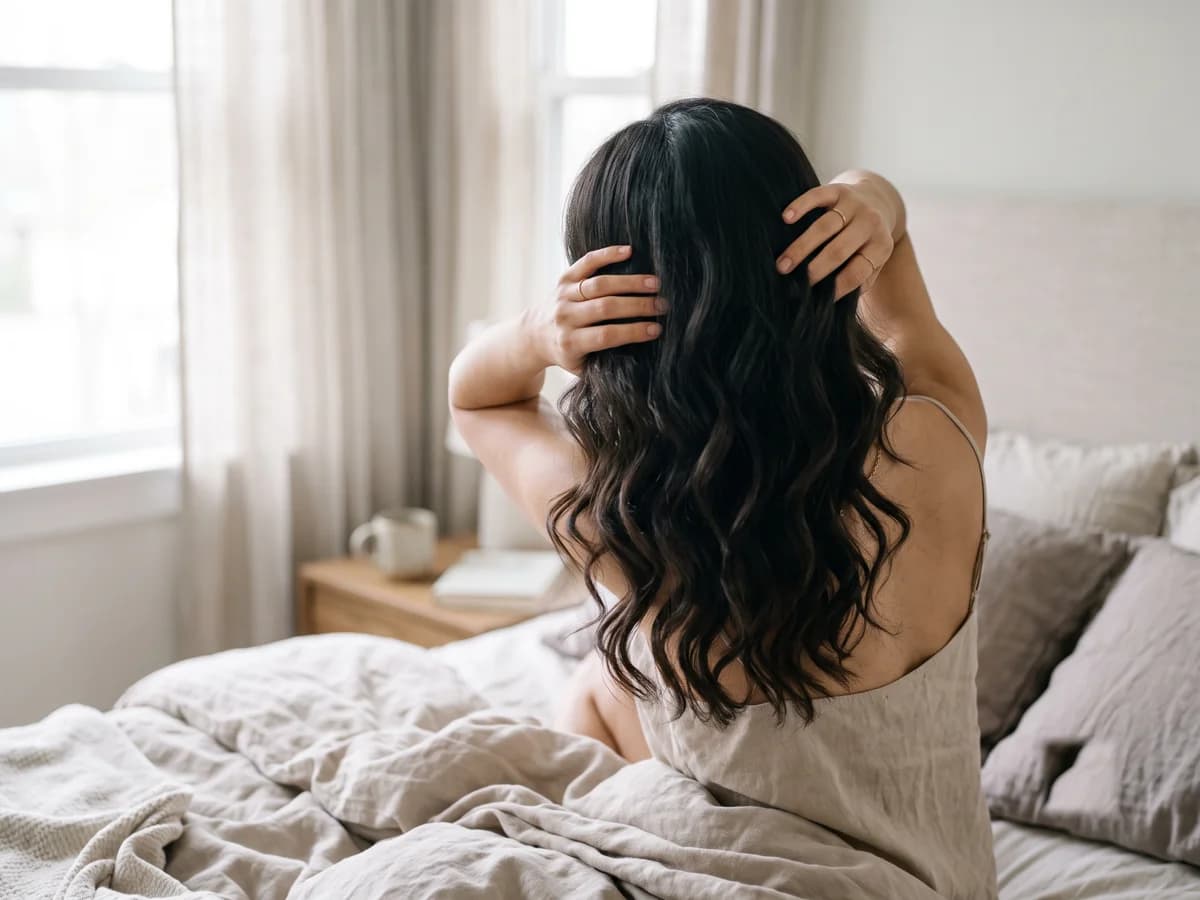
A well set overnight curl holds its shape for the day it was made and usually survives a second day in a softer form. That is the honest range for most straight and wavy hair: one strong day, one relaxed day, and a third only if you sleep carefully in between. Anything promising a week is describing a perm.
Hair type decides where you land in that range more than technique does. Coarse or thick hair keeps a set longest once it has dried all the way through. Fine hair takes the curl readily and drops it just as readily, often by the afternoon of the first day. Freshly washed hair also holds worse than day-old hair, so setting on hair you washed the previous morning tends to beat setting on hair you washed an hour ago.
Getting the second day is about protecting the shape overnight rather than rescuing it in the morning. Gather the curls loosely on top of your head, secure them with a soft scrunchie, and keep the lengths from taking your body weight for eight hours. That is a subject of its own and the method changes with hair type, so we have written it up separately.
On day two, resist rewetting the whole head. A light mist over the mid-lengths and ends, scrunched upwards with your palms, brings the shape back without soaking the set out of it. Water on the roots flattens the crown first, and the crown is the part that reads as flat.
Hair types and lengths
Shoulder length and below is the sweet spot, because the method needs enough hair to travel around the rod and still be secured at the tips. Bobs and crops tend to work loose in the night; a shorter rod or the sock version held with extra clips fares better there.
Fine hair takes a softer curl and does best on smaller sections wound with gentle tension. Thick or coarse hair holds the result far longer but must be damp all the way through, not just on the surface, or the core never sets. Naturally curly hair rarely needs this method at all; it is a tool for adding shape to straight and wavy hair, not for redefining an existing curl pattern.
Common questions
What is the easiest way to do heatless curls?
The single-rod overnight method: towel-dried hair rested for fifteen minutes, the rod draped across your crown like a headband, hair wound around it in two halves from face to nape, ends secured with soft scrunchies, then sleep. It is the fewest steps and the most forgiving timing of any version.
Is 2 hours enough for heatless curls?
From damp hair, no. Two hours leaves the inner layers still holding water, so you unwind a wave that drops fast. From barely damp or lightly misted dry hair, a two-to-three-hour daytime set can produce a soft result. For a curl that lasts the day, give it the full night.
What should you put in your hair before heatless curls?
Less than the tutorials suggest. Damp hair sets on its own. If your hair drops styles quickly, a light mousse or setting spray on the lengths before winding helps. Skip heavy conditioners and oils that night; slippery hair keeps a shape badly. Save any oil for the ends after you separate the curls.
Do heatless curls damage your hair?
No heat means no thermal damage, which is what makes the method gentler than a wand or straightener. The one real risk is mechanical: winding too tightly loads the roots, and brushing the curls out in the morning stresses the cuticle. Wind comfortably, separate with fingers, and this is about as gentle as styling gets.
Do heatless curls last longer than curls from a wand?
Usually not on the first day. A hot tool sets the shape faster and tighter, so a wand curl often looks springier by mid-morning. What heatless curls trade that initial spring for is no heat exposure and a softer finish, and because the set comes from drying rather than heat, a light mist on day two revives it instead of sending you back to the tool.